The Front Line

One of Sydney's best bouldering areas; lots of blocs with a wide range of grades and styles.

Become a Contributor
Rock type Sandstone
Beginner friendly
Fragile when wet

Routes

Grade contexts: Roped (Ewbank), Boulder (Heuco)

Route lengths: Lengths range from ~1 m to ~8 m. Most climbs are between ~2 m and ~3 m.

Route styles

235
Total
Boulder

Grade bands

Within The Front Line

Boulders

23

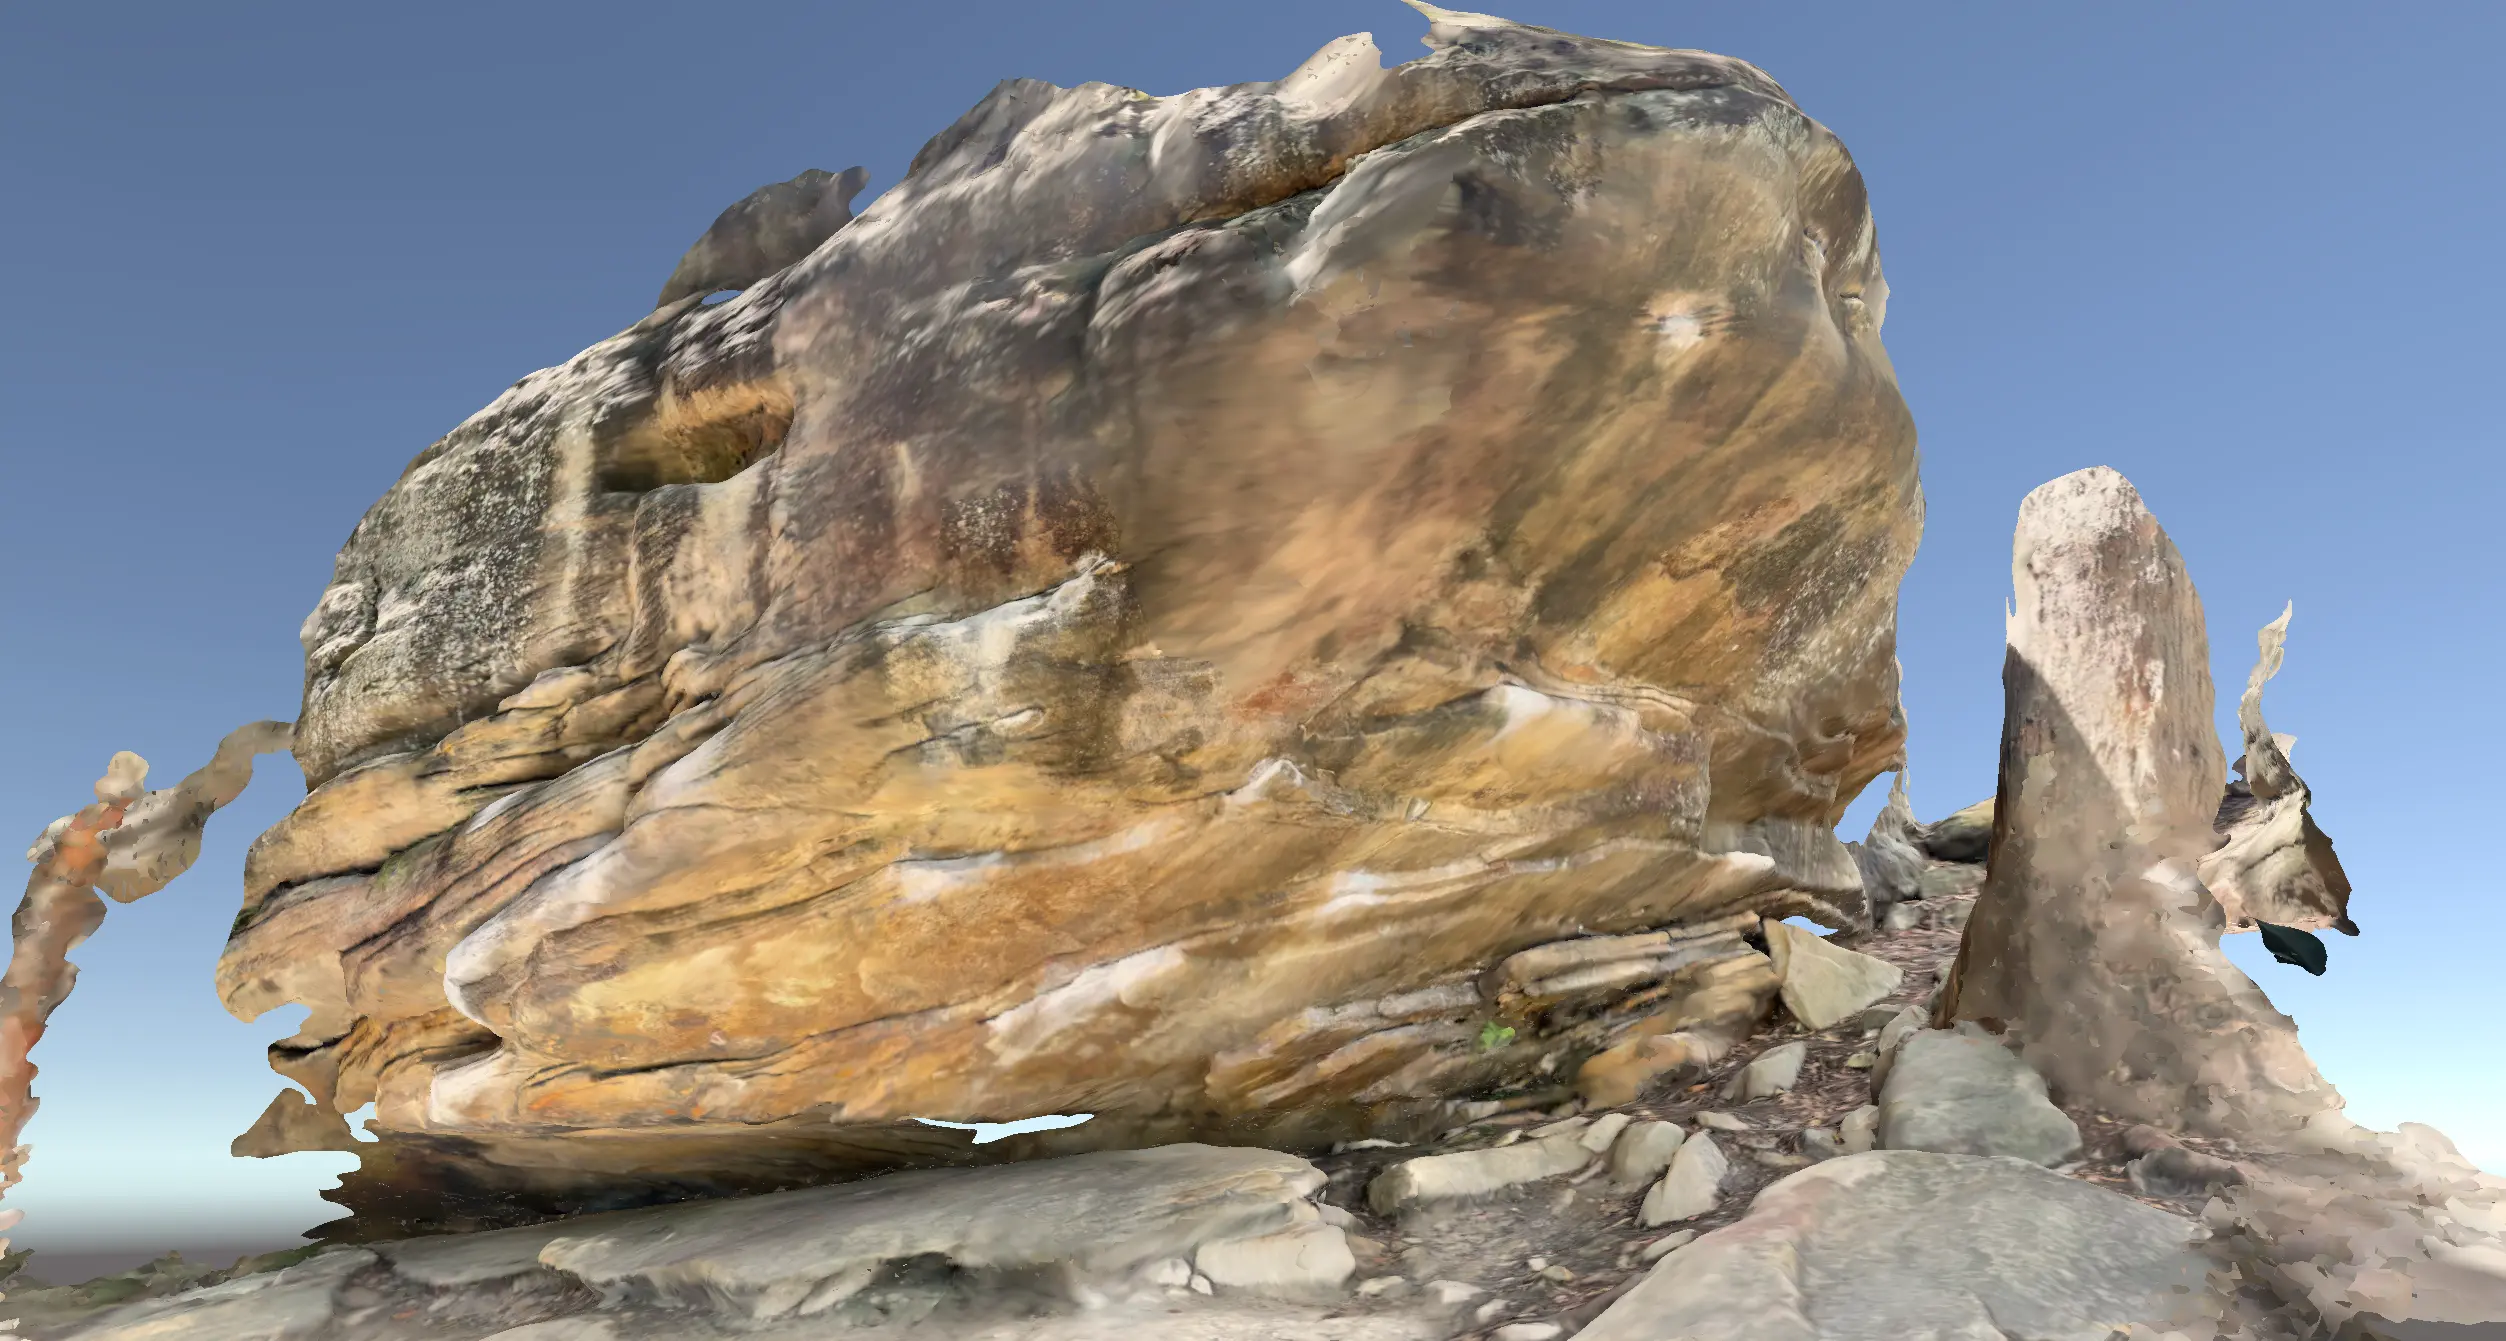
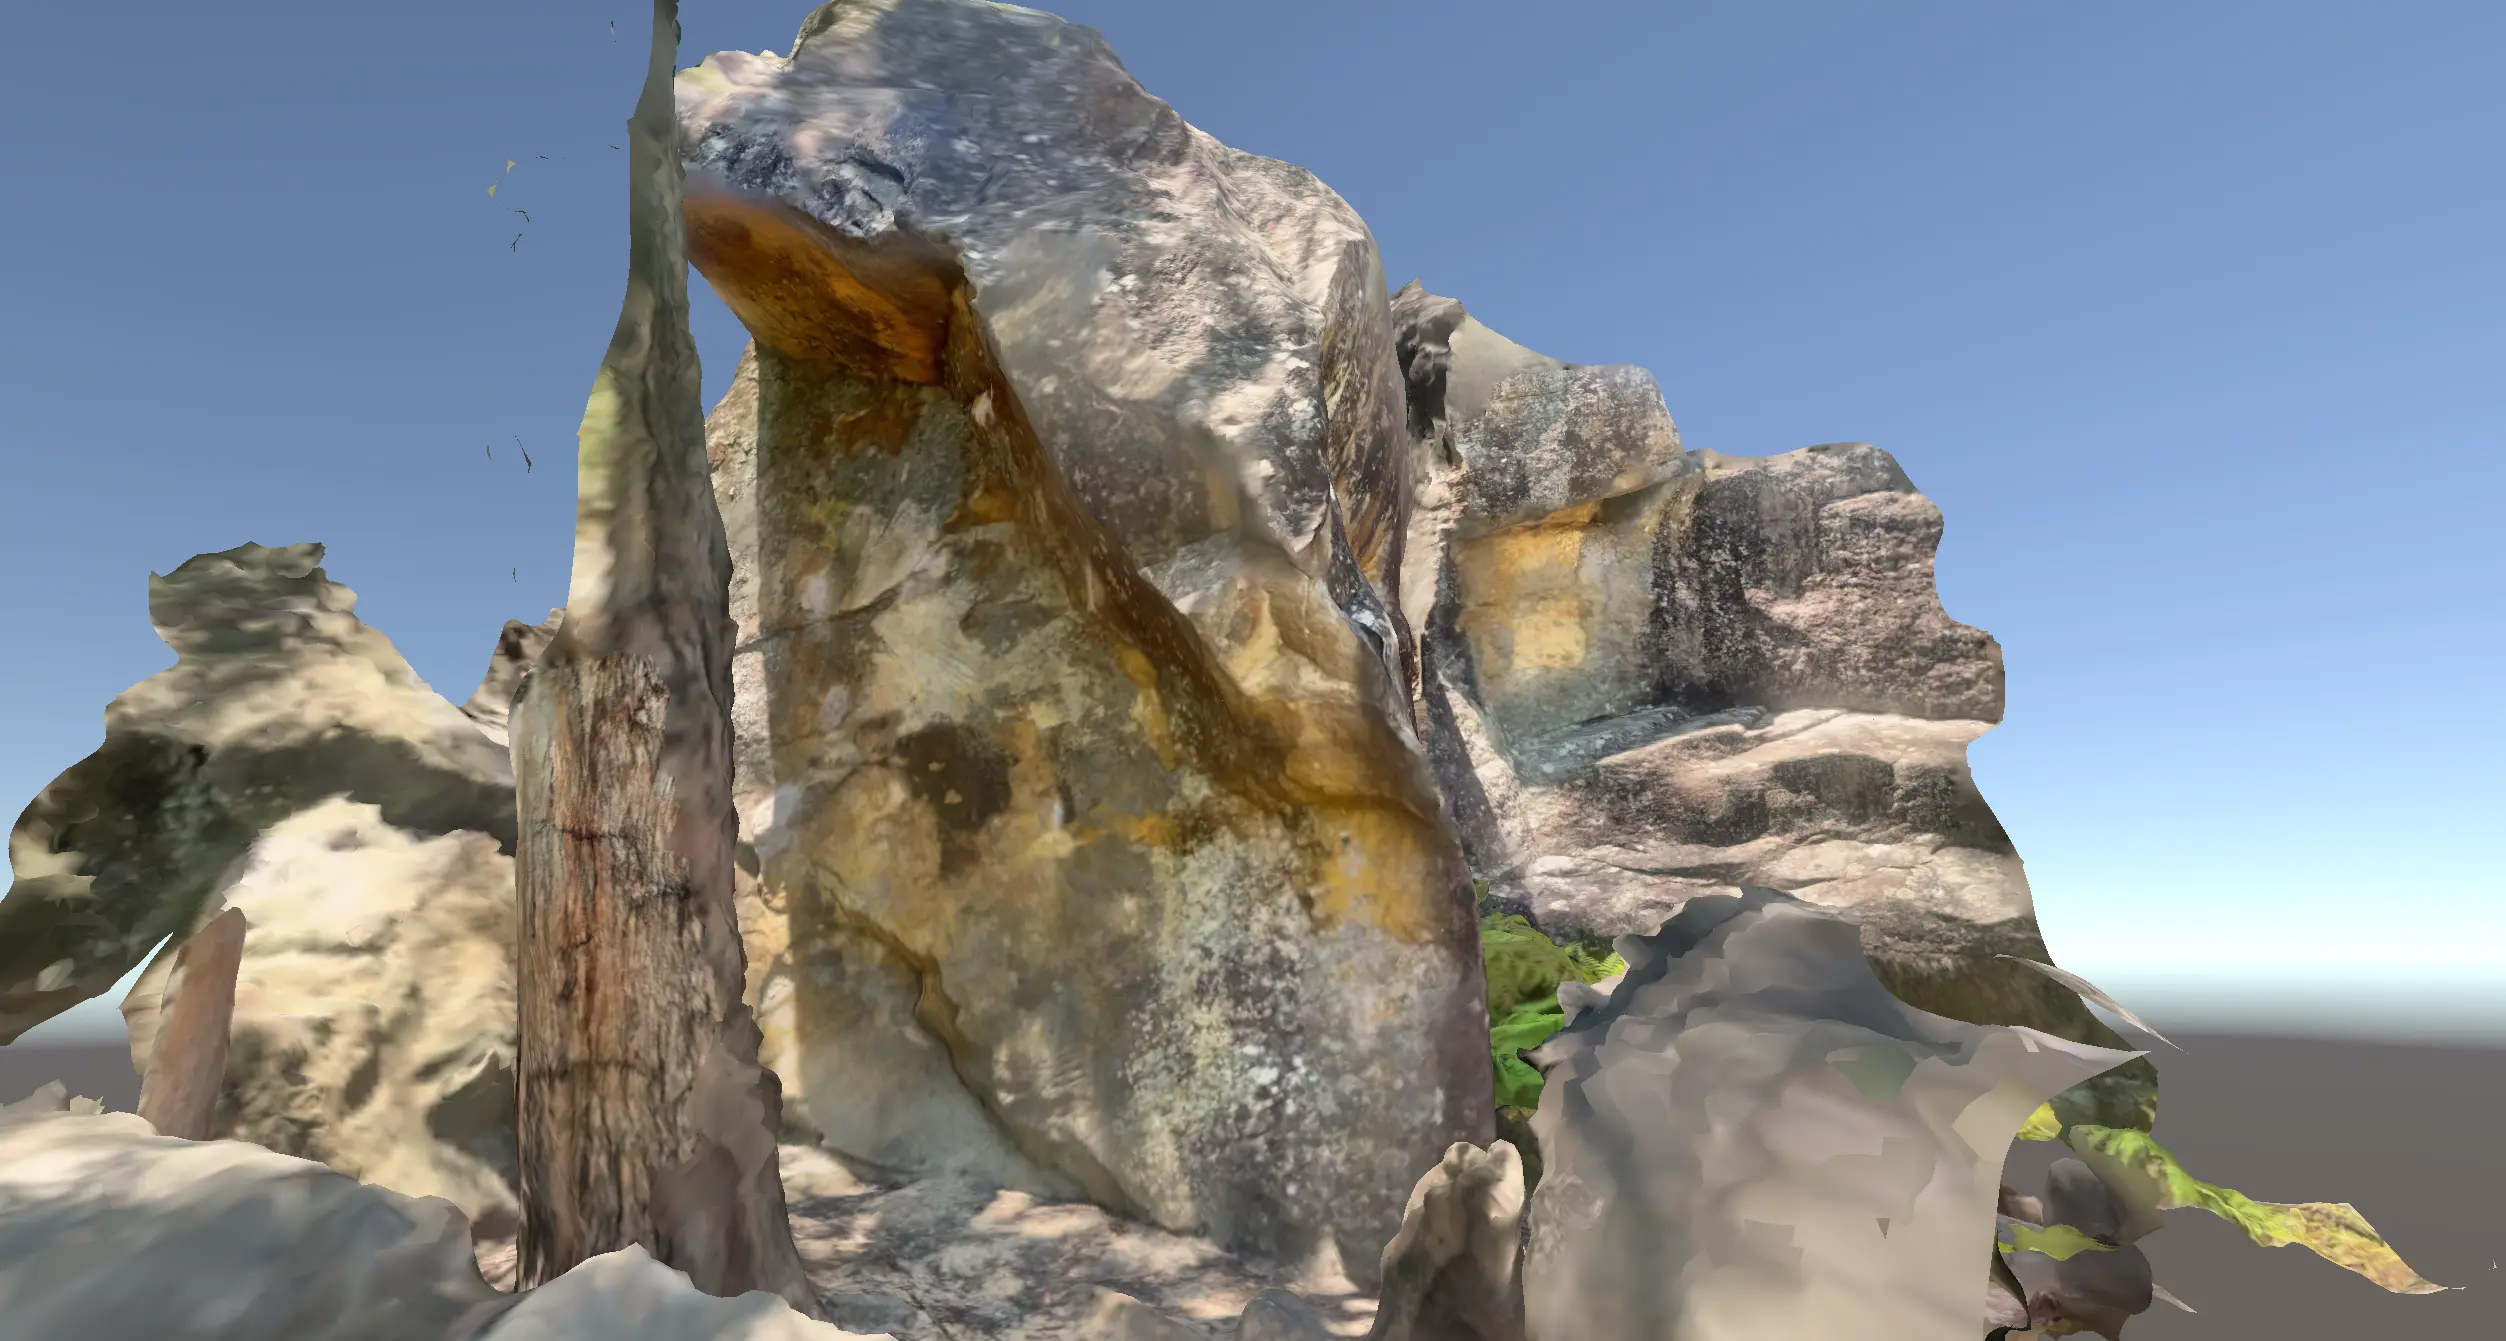
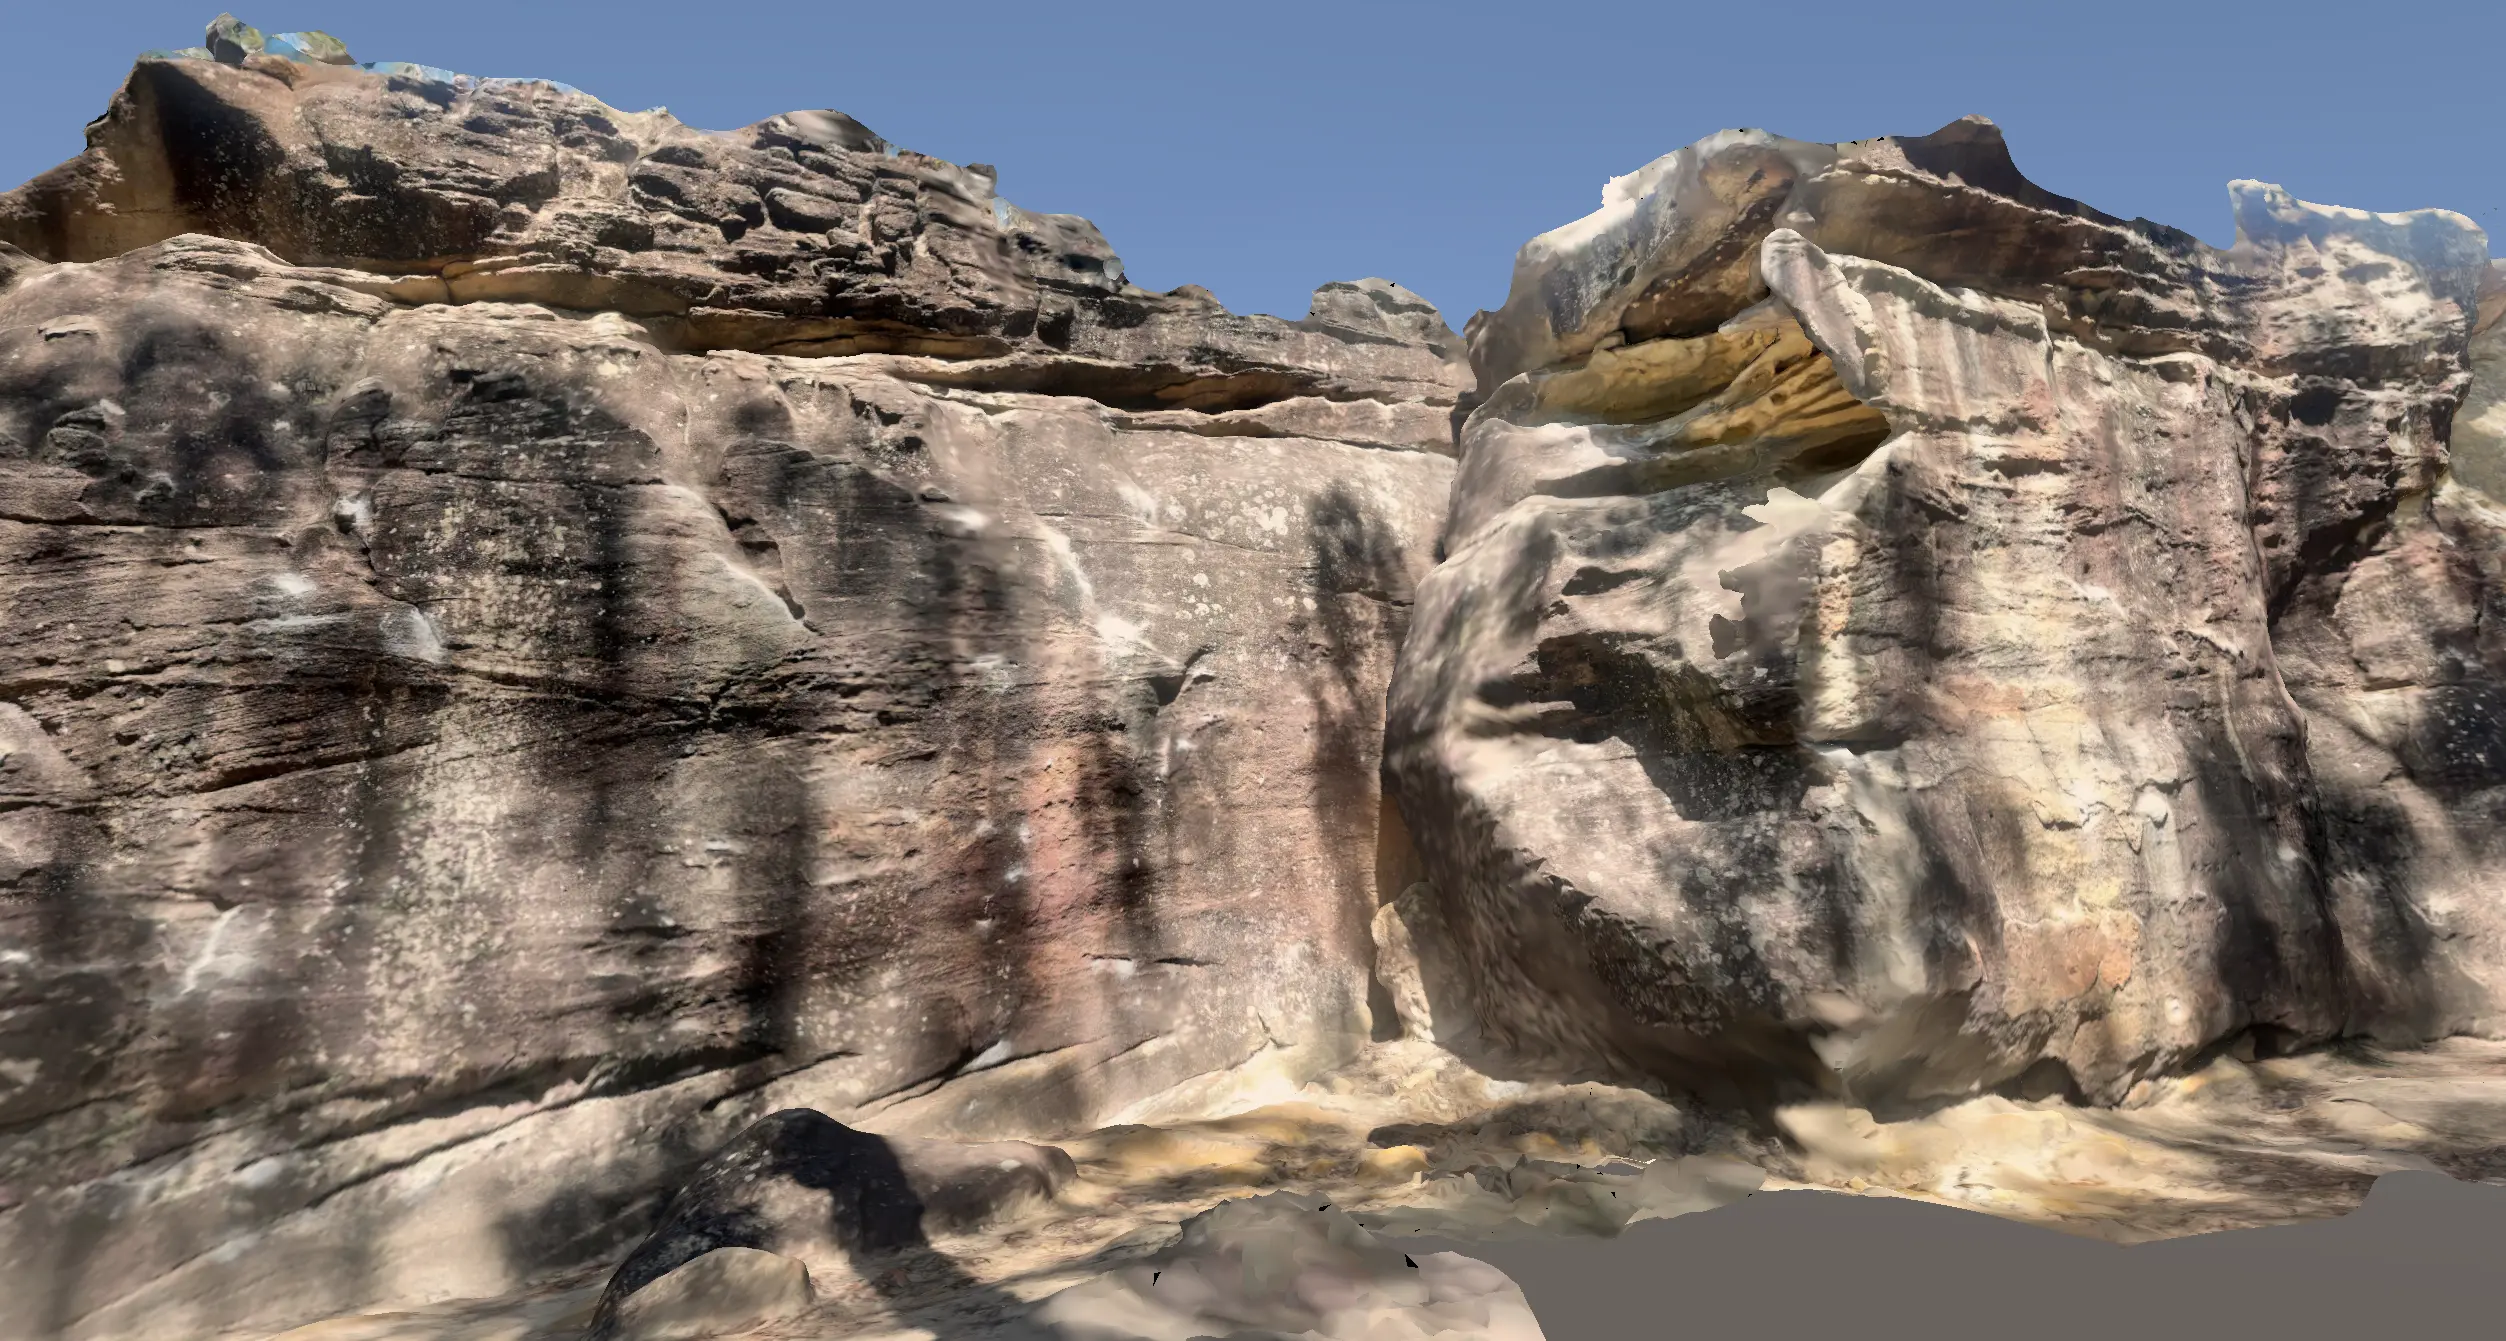
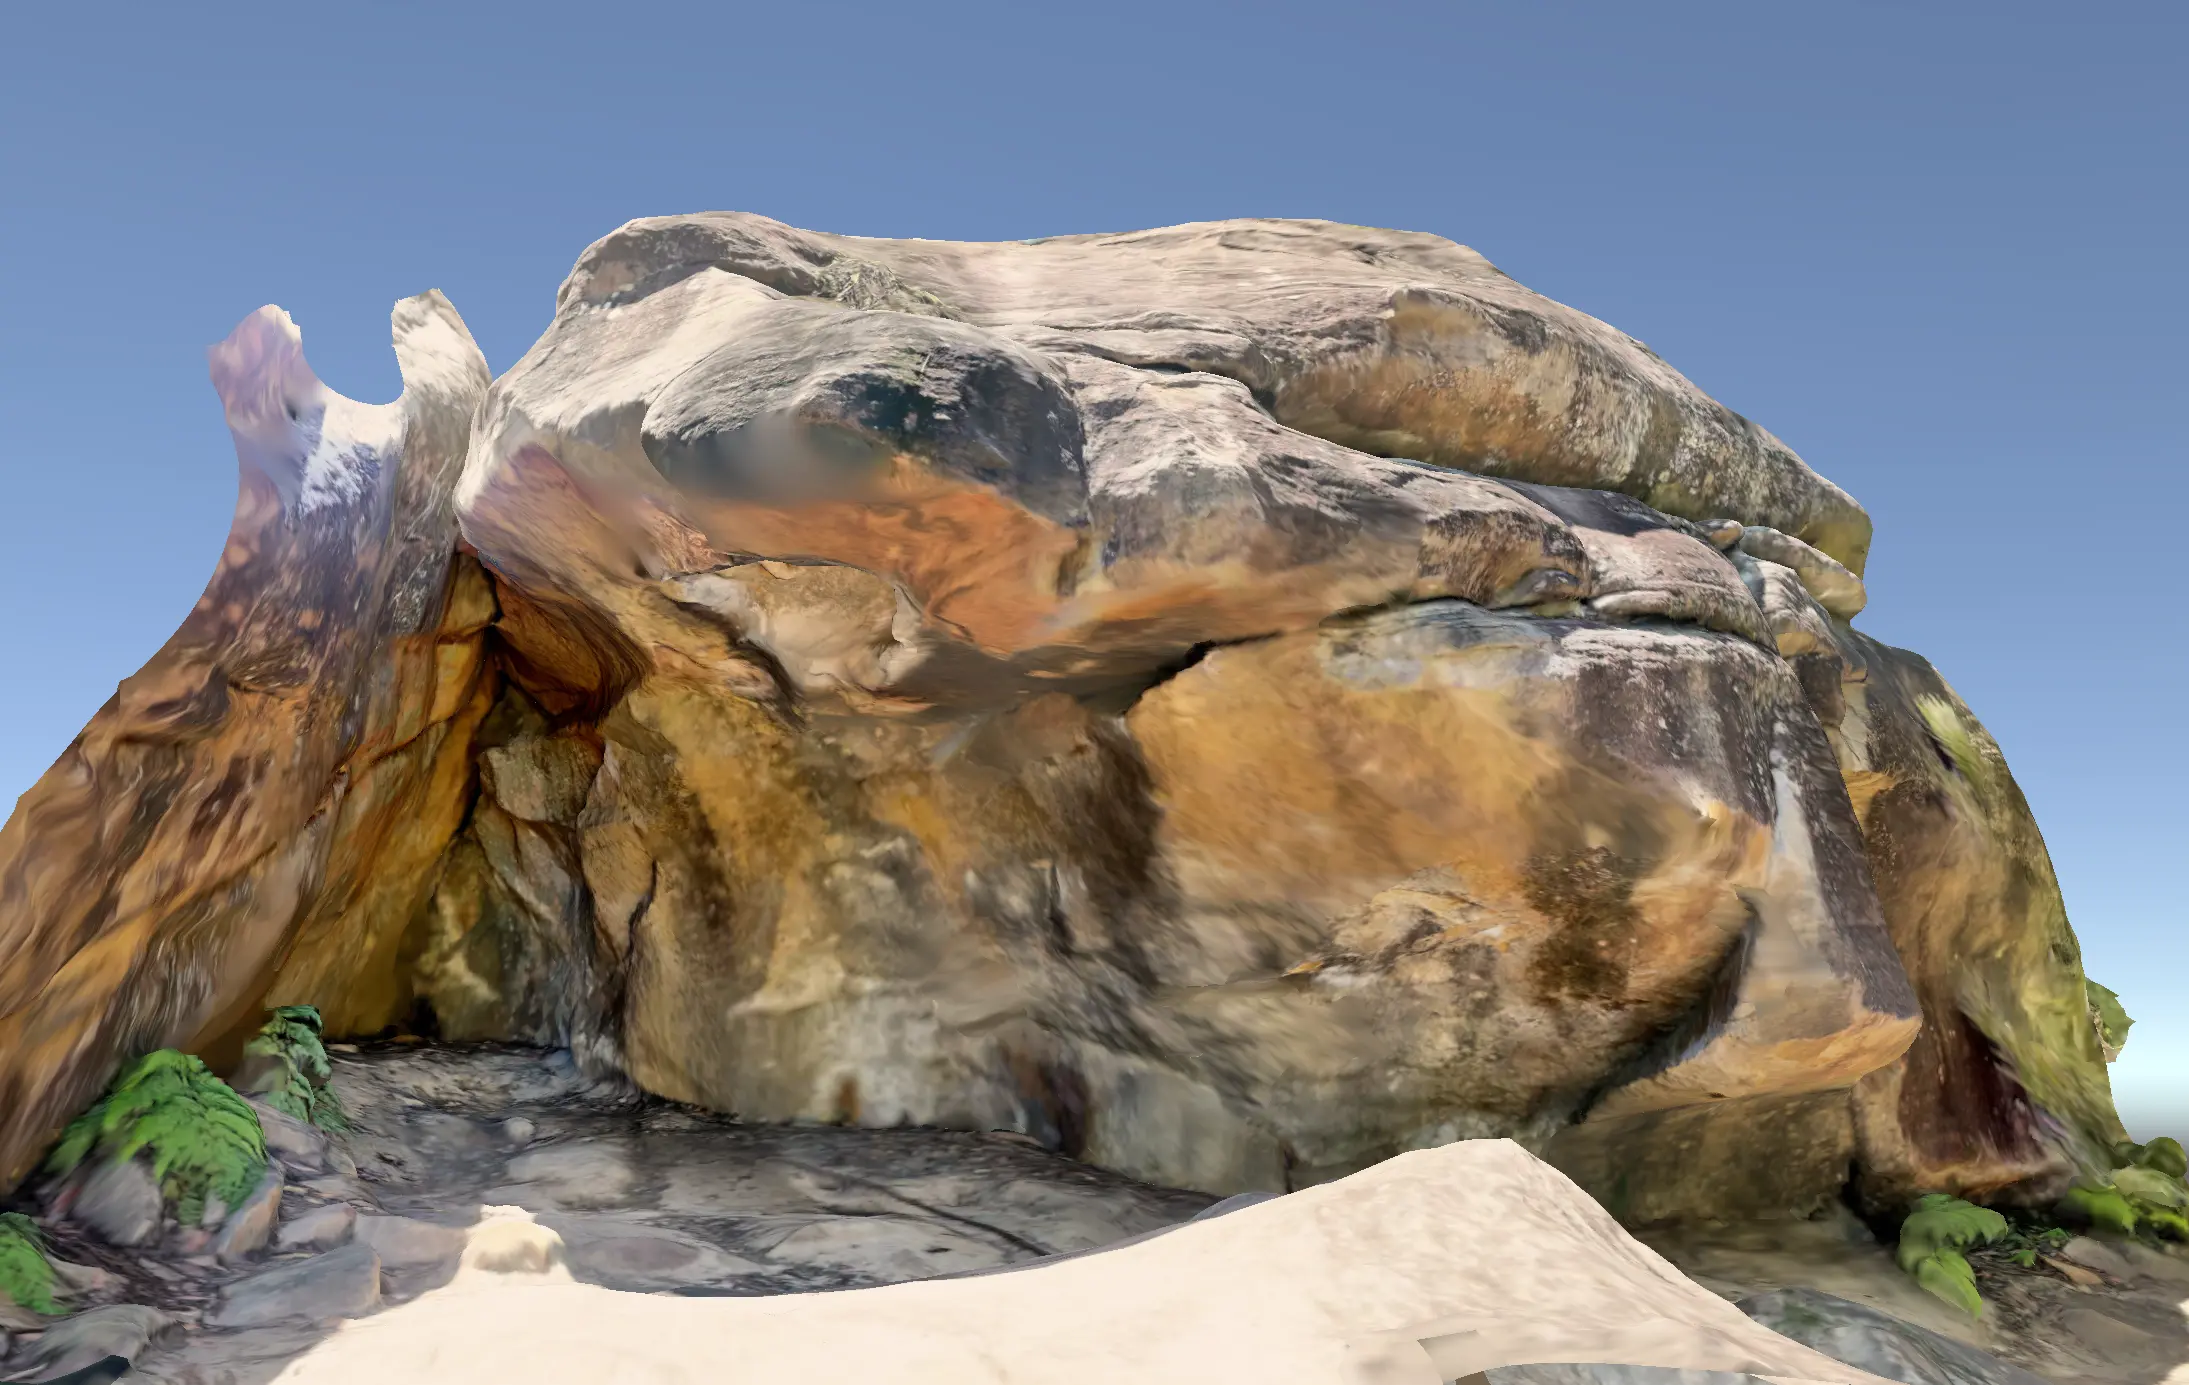
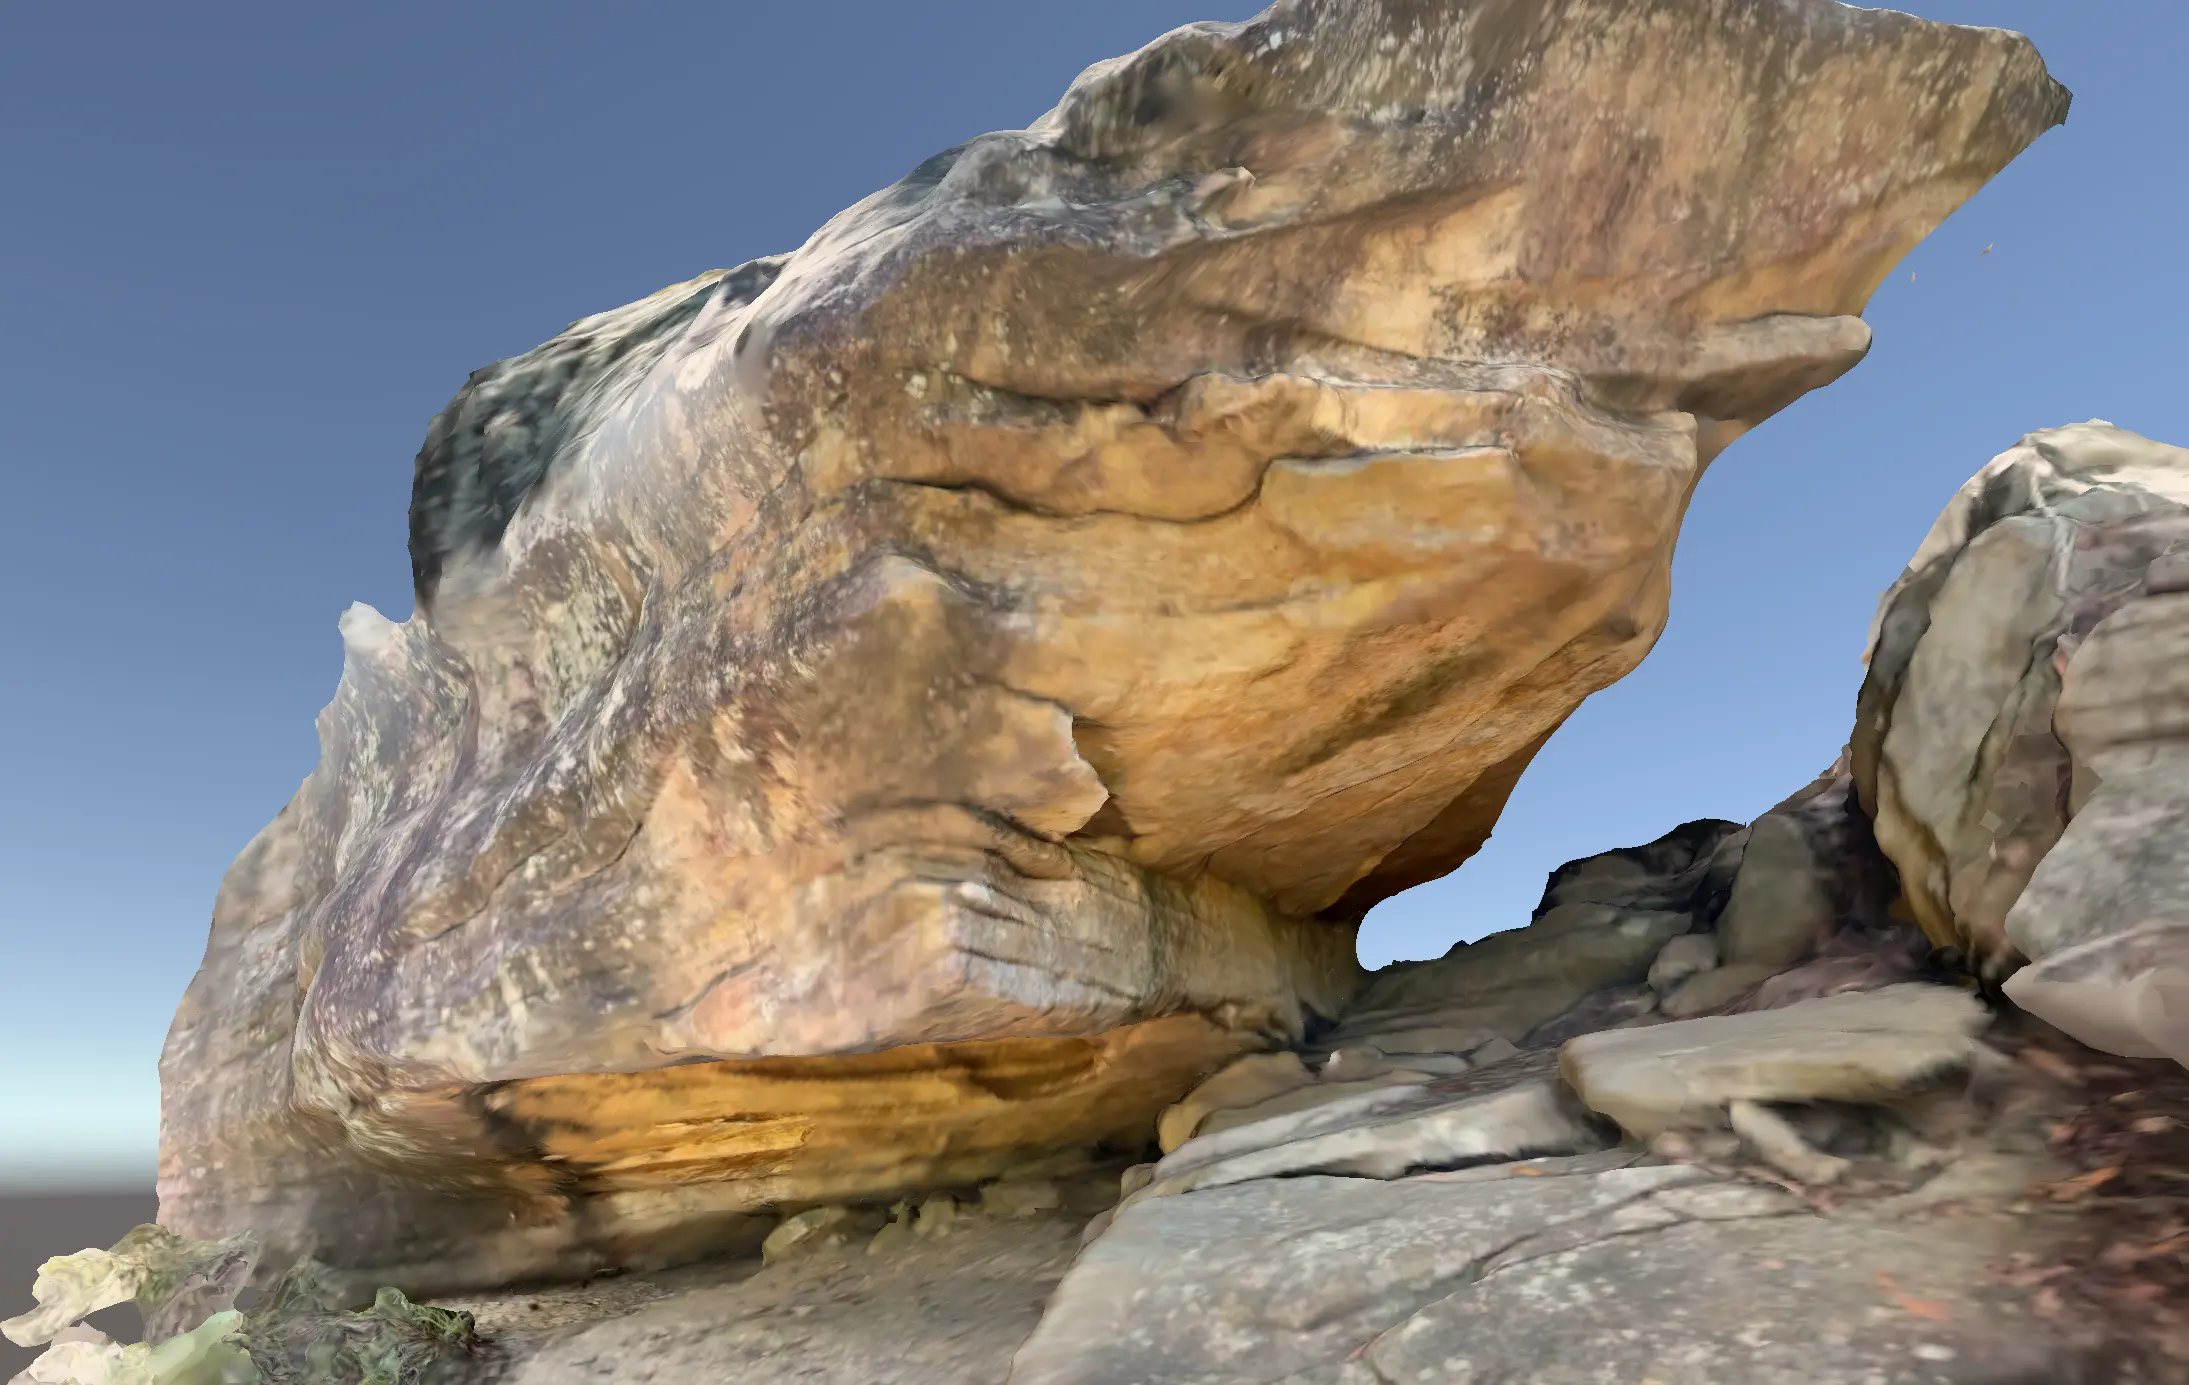
Alpha Bravo Charlie Wall

13 routes

1–4 0
5–8 0
9–12 0
13–16 1
17–20 12
21–24 0
25–28 0
29–32 0
33–36 0
37 0
Area Q Boulder banner

Area Q Boulder

23 routes

1–4 0
5–8 0
9–12 0
13–16 1
17–20 6
21–24 0
25–28 3
29–32 11
33–36 2
37 0
Armistice Boulder banner

Armistice Boulder

7 routes

1–4 0
5–8 0
9–12 0
13–16 0
17–20 4
21–24 1
25–28 2
29–32 0
33–36 0
37 0

Asics Block

9 routes

1–4 0
5–8 0
9–12 0
13–16 2
17–20 6
21–24 1
25–28 0
29–32 0
33–36 0
37 0

Battle Of The Shirts Boulder

4 routes

1–4 0
5–8 0
9–12 0
13–16 0
17–20 0
21–24 1
25–28 3
29–32 0
33–36 0
37 0

Bright Side Wall

9 routes

1–4 0
5–8 0
9–12 0
13–16 2
17–20 3
21–24 1
25–28 3
29–32 0
33–36 0
37 0
Choppers Wall banner

Choppers Wall

14 routes

1–4 1
5–8 0
9–12 0
13–16 5
17–20 8
21–24 0
25–28 0
29–32 0
33–36 0
37 0

Diplomatic Immunity Wall

10 routes

1–4 0
5–8 0
9–12 0
13–16 0
17–20 2
21–24 1
25–28 3
29–32 3
33–36 1
37 0

Eastern Block

18 routes

1–4 0
5–8 0
9–12 0
13–16 0
17–20 9
21–24 3
25–28 6
29–32 0
33–36 0
37 0

Elementary Boulder

7 routes

1–4 0
5–8 0
9–12 0
13–16 3
17–20 4
21–24 0
25–28 0
29–32 0
33–36 0
37 0

Ewe Boulder

2 routes

1–4 0
5–8 0
9–12 0
13–16 0
17–20 2
21–24 0
25–28 0
29–32 0
33–36 0
37 0

Gander Boulder

5 routes

1–4 0
5–8 0
9–12 0
13–16 1
17–20 4
21–24 0
25–28 0
29–32 0
33–36 0
37 0

Hollow Mountain Dreaming Cave

5 routes

1–4 0
5–8 0
9–12 0
13–16 0
17–20 0
21–24 0
25–28 3
29–32 2
33–36 0
37 0
Kennedys Boulder banner

Kennedys Boulder

7 routes

1–4 0
5–8 0
9–12 0
13–16 0
17–20 0
21–24 0
25–28 6
29–32 0
33–36 1
37 0

Macedomeia Boulder

7 routes

1–4 0
5–8 0
9–12 0
13–16 0
17–20 2
21–24 2
25–28 3
29–32 0
33–36 0
37 0

Main Wall

25 routes

1–4 0
5–8 0
9–12 0
13–16 0
17–20 4
21–24 2
25–28 6
29–32 9
33–36 4
37 0

Milo On The Rocks

2 routes

1–4 0
5–8 0
9–12 0
13–16 0
17–20 2
21–24 0
25–28 0
29–32 0
33–36 0
37 0

Montenegro Wall

6 routes

1–4 0
5–8 0
9–12 0
13–16 1
17–20 4
21–24 1
25–28 0
29–32 0
33–36 0
37 0
She'll Be Right Boulder banner

She'll Be Right Boulder

4 routes

1–4 0
5–8 0
9–12 0
13–16 0
17–20 3
21–24 0
25–28 1
29–32 0
33–36 0
37 0

Sloper Dan Wall

25 routes

1–4 0
5–8 0
9–12 0
13–16 0
17–20 2
21–24 3
25–28 9
29–32 10
33–36 1
37 0

The Corridor

27 routes

1–4 0
5–8 0
9–12 0
13–16 3
17–20 11
21–24 5
25–28 5
29–32 2
33–36 1
37 0
Underground Movement banner

Underground Movement

4 routes

1–4 0
5–8 0
9–12 0
13–16 0
17–20 1
21–24 0
25–28 1
29–32 2
33–36 0
37 0

Violent Crumble Cave

2 routes

1–4 0
5–8 0
9–12 0
13–16 0
17–20 1
21–24 0
25–28 0
29–32 1
33–36 0
37 0